
Gray Screen
Choose standard gray or measured percentage levels to reveal tint, banding, retention, and uneven luminance.
Related tools

Practical uses for Gray Screen
- Reveal color tint in nominally neutral areas.
- Inspect general panel uniformity.
- Use a neutral visual background.
A careful three-step workflow
- 1
Choose a mode or preset.
- 2
Start the embedded view, then enter fullscreen when ready.
- 3
Use the visible controls in the normal view; press Escape to leave fullscreen.
Interpret the result in context
- For near-black OLED levels, use the dedicated OLED Gray Screen Test.
- State for Gray Screen is processed locally and resets from the normal page view.
Why mid-gray is useful
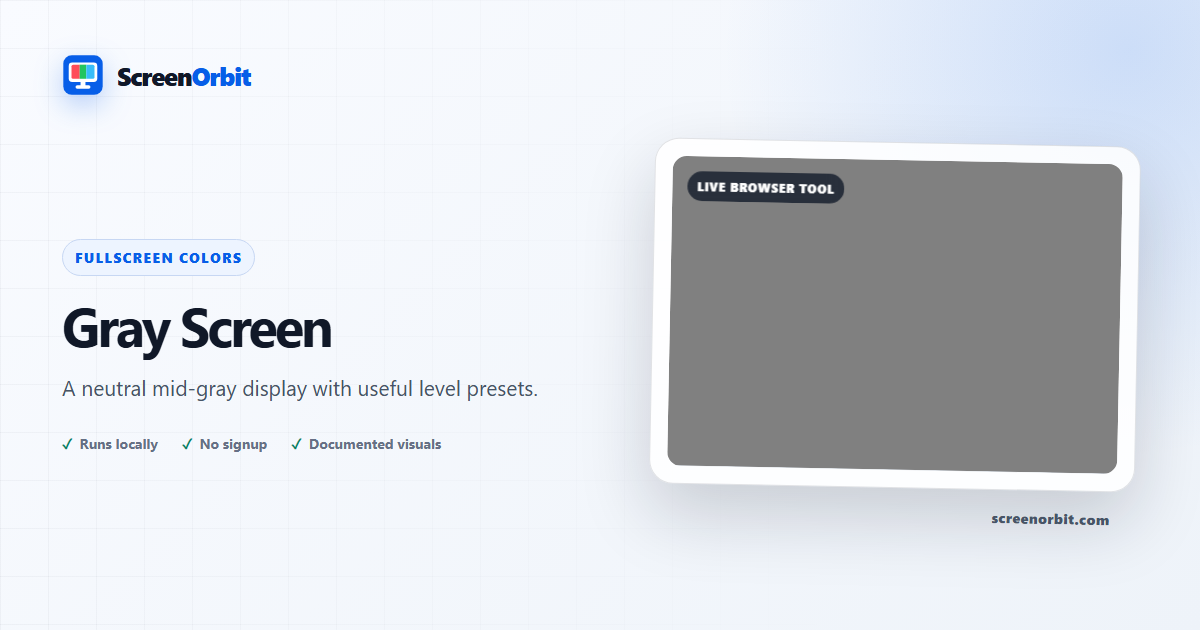
The default field is #808080, with equal red, green, and blue code values. Equal values make broad tint shifts and brightness variation easier to see than a saturated color does. This is a convenient visual reference, not a measured 50-percent luminance patch: display transfer functions mean the numeric midpoint is not necessarily half the emitted light.
The alternate spelling /grey-screen/ redirects permanently to this page so both searches resolve to one canonical URL. The rendered value and functionality are identical regardless of spelling.
Inspecting uniformity without over-reading it
View from your normal centered position, keep room light stable, and avoid moving your head while comparing regions. Many panels change apparent gray level or tint with angle. Dust, fingerprints, reflections, and camera lens shading can also create patches that resemble panel nonuniformity.
One gray level is only a starting point. Use the Screen Uniformity Test to compare dark, middle, and light neutrals and a nine-region guide. OLED owners should also inspect the low levels in the OLED Gray Screen Test, where near-black behavior can differ from mid-gray.
Plan a useful session with Gray Screen
Gray Screen works best when you start with one question. Decide what you need to view, compare, create, record, or demonstrate. Keep the first run at the default state. Change one control after you understand the starting result. This approach gives you a clear baseline and a useful reason for every adjustment.
Choose standard gray or measured percentage levels to reveal tint, banding, retention, and uneven luminance. Use the normal page view to prepare the settings. Enter fullscreen only after you review the exit control. Write down the mode and key values when you need to repeat the result on another device.
Choose controls by outcome
The available modes include 50 gray, 25 gray, 75 gray. The control set includes fullscreen, brightness, temperature, wake lock, quick download, keyboard, reset. Start with the option closest to your task. Avoid changing every value at once. A single change gives you a direct before-and-after comparison and makes a saved result easier to explain.
- Reveal color tint in nominally neutral areas. Set a clear finish point before you begin.
- Inspect general panel uniformity. Set a clear finish point before you begin.
- Use a neutral visual background. Set a clear finish point before you begin.
Run a repeatable workflow
- Stage 1. Choose a mode or preset. Record the starting environment and state.
- Stage 2. Start the embedded view, then enter fullscreen when ready. Keep the first comparison short and controlled.
- Stage 3. Use the visible controls in the normal view; press Escape to leave fullscreen. Reset the page when the session ends.
For a device comparison, use the same browser family, viewport, room light, physical brightness, and viewing distance where practical. Run the same order on both devices. Change one environmental factor only after the matched pass is complete. Keep this route focused on this use: Reveal color tint in nominally neutral areas.
Keep a useful record
A useful record names the page, mode, control values, browser, device, viewport, date, and viewing condition. For a visual observation, describe the location and the fields where the effect appears. For a generated asset, record dimensions, format, color values, and the downloaded file name. For a simulation, record the duration, custom text, disclosure, and exit method. The starting reference for this page is 50 gray.
- For near-black OLED levels, use the dedicated OLED Gray Screen Test.
Avoid common setup errors
- For this use, do not treat a browser view as a hardware measurement or system action: Reveal color tint in nominally neutral areas.
- Do not change several settings before you record the baseline. Begin with 50 gray.
- Do not rely on a phone photograph as the only evidence. Keep this route limit in view: For near-black OLED levels, use the dedicated OLED Gray Screen Test.
- Do not leave route features active after the task ends. The main controls include fullscreen, brightness, temperature, wake lock.
- Do not add private data, credentials, payment details, or confidential text. Keep the second listed use in scope: Inspect general panel uniformity.
Continue with the closest comparison
Open a related route when the first page reveals a new question. Keep the same environment and repeat only the part needed for comparison. The closest listed routes are OLED Gray Screen Test, Screen Uniformity Test, Monitor Test. Keep this final use in mind: Use a neutral visual background.
- OLED Gray Screen Test. Near-black gray levels for inspecting OLED banding, tint, uniformity, and image retention.
- Screen Uniformity Test. Inspect luminance, tint, dirty-screen effect, and edge variation with controlled fields and grids.
- Monitor Test. A complete guided sequence for pixels, levels, gradients, sharpness, geometry, and motion.
Recommended guides
Questions about Gray Screen
What does Gray Screen do?
Choose standard gray or measured percentage levels to reveal tint, banding, retention, and uneven luminance. Reveal color tint in nominally neutral areas. Inspect general panel uniformity.
Who gets the most value from this page?
Use this page when your task matches the listed purpose. Reveal color tint in nominally neutral areas. Inspect general panel uniformity. Start with a clear goal and stop once the page answers that goal.
Which Gray Screen setting should you choose first?
Start with 50 gray, 25 gray, 75 gray. Keep the default state for the first pass. Change one control, review the result, then record the setting before another change.
What should you prepare before fullscreen?
Set the browser to 100 percent zoom. Keep the display preset, room light, and viewing position stable. Start at a comfortable physical brightness. Choose a mode or preset. Start the embedded view, then enter fullscreen when ready.
Does this page change hardware or system settings?
The page changes rendered RGB values. The page does not change the monitor backlight, panel drive, color profile, or operating system display settings. The 50 gray mode and Reset affect local page state only.
How should you judge the result?
Compare more than one color. A fixed point or region across several fields carries more value than a one-field observation. Confirm the result in normal content. For near-black OLED levels, use the dedicated OLED Gray Screen Test.
Does the page upload files or settings?
No tool state is uploaded by ScreenOrbit. Supported local files stay in the current browser tab. Generated files are assembled in browser memory and download to your device. The starting mode is 50 gray. The first use is: Reveal color tint in nominally neutral areas.
Which phones, tablets, and computers support the tool?
Current desktop and mobile browsers support the core page. Fullscreen, Wake Lock, downloads, audio, and local file access depend on browser and operating system support. The visible control set starts with fullscreen. The first use is: Reveal color tint in nominally neutral areas.
What mistakes reduce the value of the page?
Avoid judging the field through a phone photo alone. Camera exposure, white balance, reflections, and lens shading often exaggerate small changes. Keep the goal, settings, environment, and exit plan clear. The first listed use is: Reveal color tint in nominally neutral areas.
Which ScreenOrbit tool should you open after Gray Screen?
Continue with OLED Gray Screen Test, Screen Uniformity Test, Monitor Test. The related links preserve the same task area while giving you another field, pattern, or workflow for comparison.